Table of Content
Sand the dowel and plugs or balls until they are smooth.

So, if you have an apple slicer, lightly press down until you have little indentations in the wood. For your dowel, you can use any type of hardwood that’s available (maple, walnut, oak, ash, beech, teak, etc.). Place the end of the dowel into eight equal parts. Continue to cut until you have eight dowel cuts. Use your index finger to push the loop under the first loop.
How To Flatten Dough Without A Rolling Pin
I recently just listed this set of vinyl decals in my shop where you can pick the words of your choice. Lightly sand the dowel again with the 300 grit sandpaper. Wipe clean then apply another coat of mineral oil. Let the dowel sit again overnight and apply a third coat of oil if needed. While the production time might not be as long as some turning projects there is a level of skill required to produce a good rolling pin.
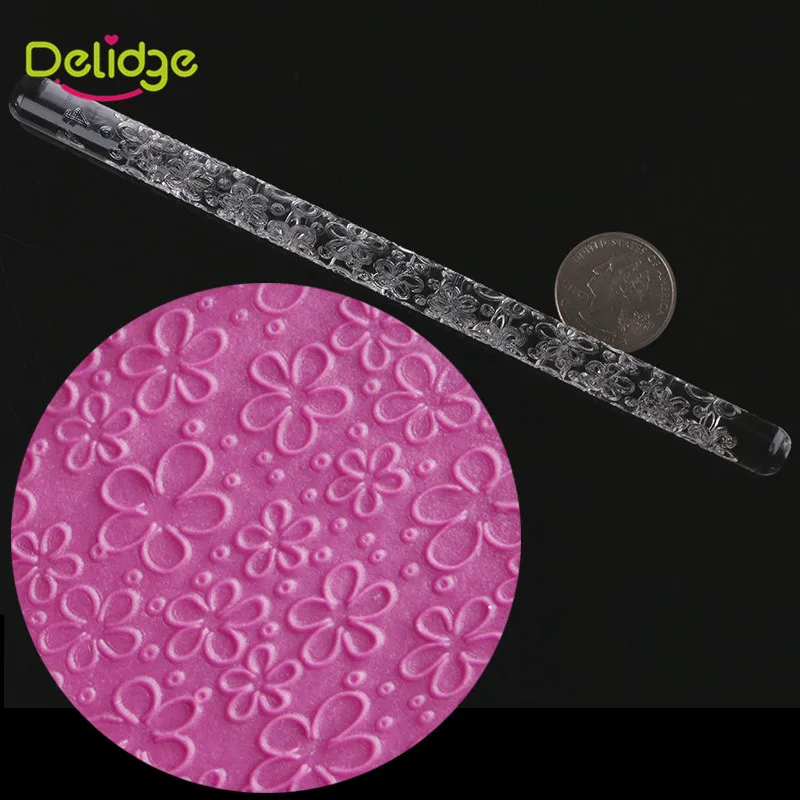
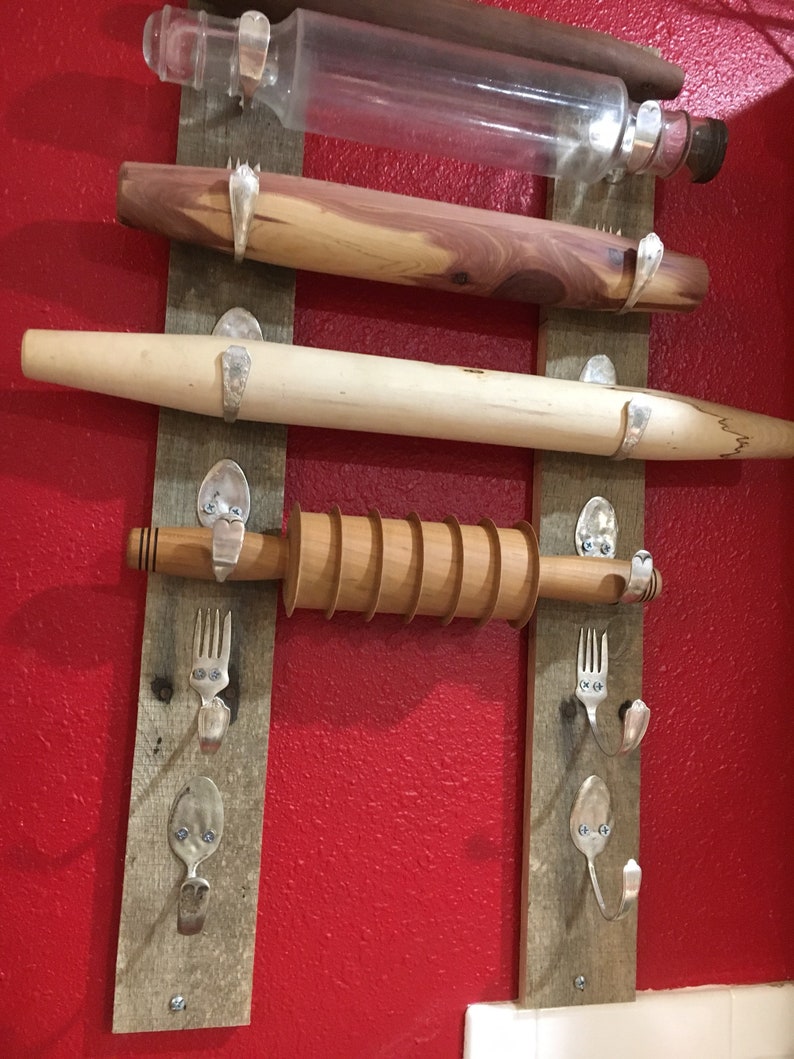
But to create the ornate, you first have to learn the basics. Let me show you how to turn a simple rolling pin using carbide lathe tools. A couple of months ago, I purchased my first tiered tray. They have farmhouse charm with the loveliest mini rolling pins and are mostly filled with Rae Dunn pottery.
How to Make an Elegant Rolling Pin to Use and Display
These make great gifts for the home decor lover, or even as great toppers on actual presents. Once dry, apply the vinyl decals you want to the front. Then you will want to paint your fronts and backs of the blocks. First, you will want to paint or stain the side edges of your block. I choose to stain the sides with an Antique Wax which is a chalk paint wax made by Waverly. After six years of continuous operation, I officially retired the computer inside my wooden computer case.
Take shallow cuts to begin with, gradually increasing the depth of cut to about 1/8-inch. As you reduce the square stock down to a cylinder, remember to occasionally readjust the banjo so the tool rest stays close to the work. Domestic hardwoods like cherry, maple and walnut are easy to turn and readily available. After cutting, go back to step 2 and complete all the steps to finish the rolling pin. A wine bottle is a great substitute for a rolling pin.
How To Make A Rolling Pin At Home
The holes should be big enough to fit your dowel plugs or wooden balls. 3/8 inch wide craft ribbon in your choice of color. I like to seal wood surfaces before painting them. The sealer penetrates in the wood and creates a non-porous barrier for fewer coats of paint. I share printables for crafting projects and home decor DIYs. I provide easy craft projects and DIYs plus tips and tricks for all of your crafting needs through the FREE Crafty Life email newsletter.

Bread can be made without a rolling pin by using a variety of other methods to flatten the dough. This includes using a wine bottle, a can of soup, or even your hands. The key is to make sure that the dough is evenly flattened so that it will cook evenly. Offset the decal 1 to 2 inches from the right or left handle of the rolling pin, to make room for the bow.
Shopping
The rolling pin does not need to be perfect at this point. Since I wanted the largest diameter I could get from the blank I stopped before the blank was completely round. These rolling pins are very popular and for quite some time now, I’ve been wanting to create my own. Create your own Mini Rolling Pins and Fall home decor. In this tutorial, you will find out how to make them and where to shop for rolling pins. To drill out the centre, I started with a step drill, drilling it out to 3/8″ on each end.
Set your drive center on the intersection of these two lines and strike it with a hammer. This creates impressions that will help you center the blank on the lathe. Carbide tools can be safely used with the tool rest three inches from the stock, but I prefer it a little closer.
You can also follow me on Facebook and Pinterest as well. Using the skew chisel and angling the tool rest you now shape the tapers on each end of the rolling pin. The flat section on the rolling pin indicates that I have more work to make the center part round.
A counterbore is needed in the end, and to get that started, I used a countersink. I turned both handles down close to final size from the blank. Long hair, jewelry and baggy clothes can all spell disaster when you’re working on a lathe. Keep your sleeves buttoned at the cuffs, take off any hanging jewelry and always tie back long hair. Always use eye protection or a face shield, and wear a dust mask to protect your lungs. A turning jacket is nice to have but not necessary.


No comments:
Post a Comment